How to Install Linux Mint from Windows 10
If you’re tired of dealing with Windows 10 or another operating system, maybe it’s time to consider switching to something that gives you more control. There are many great options available, especially Linux-based alternatives. While Ubuntu is popular, today I’ll guide you on installing a different distribution called Linux Mint. If you’re curious to try something new, just follow these steps, and you’ll have Linux Mint running in no time.
Getting Ready

Before installing the new operating system, there are a few important things you should do. First and foremost, make sure to back up all your important documents. You wouldn’t want to lose any financial papers or personal information. The best place to store these documents temporarily is in the cloud, and luckily, there are plenty of great options like Google Drive and Dropbox.
Now, let’s talk about switching from Windows to Linux. It’s crucial to understand that Linux is not the same as Windows. It’s a completely different operating system, and once you install it, you’ll quickly realize that. Moving away from Windows has its drawbacks, one of which is the need for some technical skills. To fully utilize Linux, you’ll need a higher level of computer knowledge.
There are many things you can do with Linux as an ordinary user, but it’s almost a guarantee that something will break at some point, and you’ll have to fix it. Whether it’s installing non-packaged software or setting up peripherals that don’t work automatically, you’ll need to rely on your knowledge or have some good skills in using Google to find solutions.
Despite its technical challenges, using Linux can be a lot of fun, especially when you’re trying to troubleshoot programs and figure out how to fix them. However, it’s important to note that Linux isn’t for everyone. If you’re interested in embarking on this journey, make sure to follow the steps below.
Preparing Linux Mint for Installation

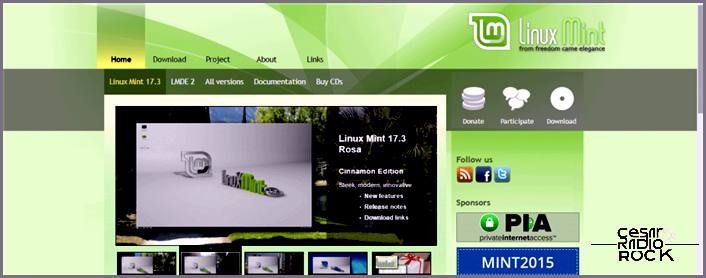
First things first, you’ll want to grab the ISO file for Linux Mint. Don’t worry, it’s totally free! Head on over to the official website right here. Once you’re there, hover your mouse over the “Download” tab and click on the Linux 17.3 button. Now, look for “Cinnamon” under “Download links” and choose whether you want the 32-bit or 64-bit version. Click that download button and be prepared to wait a bit – this file is quite large!
Once the download is done, it’s time to create a bootable USB disk. We’ve got a nifty guide and a step-by-step video to help you out with that. Just follow the instructions in our guide and you’ll be good to go in no time.
All right, now it’s time to get your USB drive ready. Plug it into your computer and get ready to tweak some BIOS settings. We need to make sure that your PC boots from the USB disk, not the hard drive. So here’s what you’ll do: restart your computer and keep an eye out for a key like F2, F1, Delete, or maybe even F12. Press that key to enter your BIOS. Got it? Great!

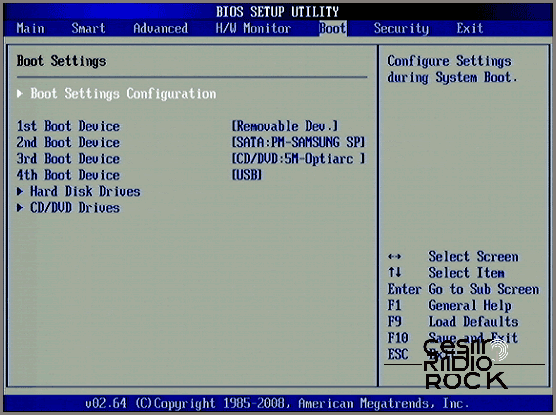
Now, let me guide you through accessing the BIOS. To do this, you’ll need to use your keyboard. First, locate the “Boot” tab (or something similar, depending on your system). If you’re not sure, consult your motherboard manual for specific instructions. In some cases, this option might be called “Boot Order.”
Once you’ve found the “Boot” tab, use your keyboard to change the boot order. Set the USB disk as the first boot device. If you’re not sure how to do this, you can simply press F12 to access the Boot options and select the USB disk from there.
Now, with the boot order changed, you’ll be able to preview Linux Mint before committing to an install. The new operating system will boot directly from the USB drive. Keep in mind that since it’s not installed on your PC yet, it will run slow. Nevertheless, you’ll still be able to explore and get a feel for it. Just remember, once you fully install it on your PC, you’ll experience a significant performance boost.

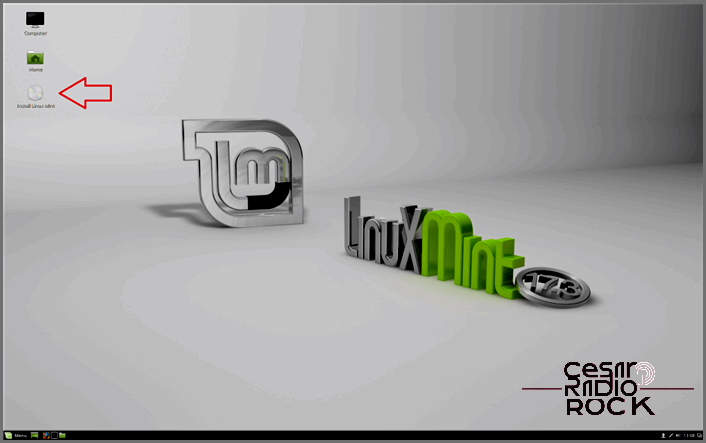
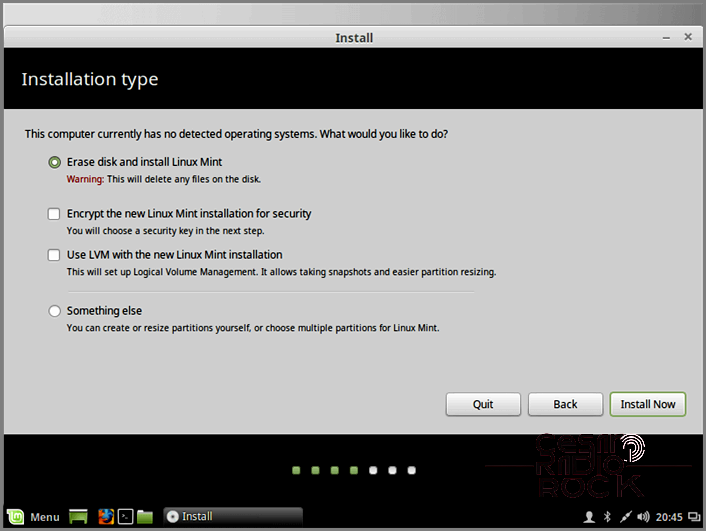
Once you’re finished exploring the preview, simply click on the install Linux Mint icon. Then, just follow the setup wizard and you’re all set! The setup wizard is actually really easy to follow. It takes care of most things on its own, but it will ask you some simple questions. For example, it will make sure you have enough space on your hard drive, ask which hard drive you want to install it on (if you have more than one), and give you the option to either erase your hard drive and install the new operating system or create a separate Linux Mint partition.

If you want to install Linux Mint alongside another operating system, you have one last option. However, keep in mind that setting a custom partition size might be challenging, especially if your hard drive is large. Personally, even though my hard drive is bigger, I prefer starting fresh with only one operating system. But the choice is yours.
And that’s all there is to it! If you encounter any difficulties along the way, don’t hesitate to leave a comment below or reach out to us on the PCMech Forums!
