A Simple Guide to Installing an SSD
I’m here to share with you an easy and straightforward method for installing an SSD. Trust me, once you’ve done it, you’ll wonder why you didn’t make the switch sooner!
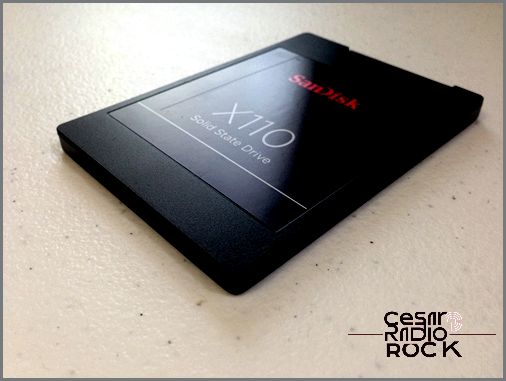
First things first, let’s talk about what an SSD actually is. SSD stands for Solid State Drive, and it’s a type of storage device that can greatly improve the performance of your computer. Unlike traditional hard drives, SSDs don’t have any moving parts. This means they are faster, more reliable, and can help your system run smoother.
Now, let’s get down to business. Here’s a step-by-step guide on how to install an SSD:
Step 1: Gather your tools and materials
Before we begin, make sure you have all the necessary tools and materials. You’ll need your new SSD, a screwdriver (usually a Phillips-head screwdriver will do the trick), and any cables or brackets that come with your SSD.
Step 2: Turn off your computer and unplug it
Safety first! It’s important to turn off your computer and unplug it from the power source before doing any hardware installation. This will prevent any accidental damage and keep you safe.
Step 3: Open up your computer case
Next, you’ll need to access the inside of your computer. Depending on your computer model, this may involve removing a side panel or sliding off a cover. Take your time and be gentle to avoid any unnecessary mishaps.
Step 4: Locate an empty drive bay
Now that you have access to the inside of your computer, you’ll need to find an empty drive bay where you can install your new SSD. This will typically be a metal slot designed to hold storage drives. If you’re unsure, consult your computer’s manual or do a quick online search for your specific model.
Step 5: Connect the SSD
Once you’ve found an available drive bay, it’s time to connect your SSD. Most SSDs use a SATA connection, which is a small, flat connector. Locate the corresponding SATA cable in your computer and connect it to the SSD. Make sure it’s firmly attached.
Step 6: Secure the SSD
Now that you’ve made the connection, it’s time to secure the SSD in place. Some drive bays have screws or brackets that you can use to hold the SSD in place. Follow the instructions provided with your SSD to ensure it is properly secured.
Step 7: Close up your computer
With the SSD securely installed, it’s time to close up your computer. Put the side panel back on or slide the cover back into place. Make sure everything is aligned correctly and firmly in place.
Step 8: Power up your computer
Congratulations! You’ve successfully installed your new SSD. Now it’s time to power up your computer and enjoy the benefits of improved performance and faster speeds. You should notice a difference in how quickly your system boots up and how swiftly you can access your files and applications.
In conclusion, installing an SSD is a simple process that can greatly enhance your computer’s performance. With just a few steps, you can enjoy the benefits of faster speeds and improved reliability. So why wait? Upgrade your storage device today and experience a whole new level of computing!

Solid state drives (SSD) are slowly taking over hard drives as essential components of high-end computers. They make your system start up faster, improve the performance of all applications, and make your computer more responsive to your commands.
If you were impressed by these facts and purchased an SSD from a tech store, now it’s time to install it on your computer. If you’ve never dealt with hardware before, this might seem like a daunting task.
But don’t worry, there’s nothing to fear. You don’t need to pay a tech service to install your drive – you can do it yourself. This article will provide a detailed guide on how to install an SSD on your own, even if you have no prior experience with the process.
Preparations and Precautions
Installing an SSD is not a simple task, and it requires special equipment and precautions. Since you’ll be working with static electricity and hardware, make sure you have everything you need.
Here’s what you need to gather:
- Your solid-state disk (To avoid unnecessary damage, it’s best not to unpack it until you’re ready to install it.)
- A screwdriver without a magnetic tip
- Your computer manual (optional, but it can make things easier)
Additionally, if you want to replace your current drive with an SSD, you may want to use data cloning software. This will make it easier to transfer files from the previous drive to the one you’re installing. Some of the best disk cloning tools available include Clonezilla and AOMEI (free), or EaseUS (free trial).
Remember that static electricity can cause issues with your device. To prevent static damage, it’s best to wear an anti-static (or electrostatic discharge) wrist strap. This safety device prevents the buildup of static electricity near electronic devices. Alternatively, you can try touching the non-painted metal surface on the computer case to discharge any static.
Another important thing to know is that opening your SSD will void your warranty. So, you should never unscrew the protective shell. If you believe there’s physical damage to the drive, you should take it back to the store first. Additionally, if you touch the connectors on the drive, it may not function properly.

How to Install Your Drive
Installing the drive may seem complex, but don’t worry! I’ll guide you through the process step by step. Just follow these instructions:
Step 1: Getting Started
First, let’s create a safe environment for the installation:
- Make sure your environment is as static-free as possible. Keep your computer off but connected to a cable to stay grounded. Avoid rubbing against a carpet or wearing static-causing clothing like plexiglass, polyester, or wool.
- To minimize static electricity, touch a metal part of the computer case before touching any components.
- Hold down the power button for a few seconds to release any remaining electricity.
- Now, remove the computer case cover. It’s usually a matter of unscrewing and lifting it off, but consult your manual if needed.
Step 2: Installing the SSD
Now that we have a safe environment, let’s place the SSD inside your computer:
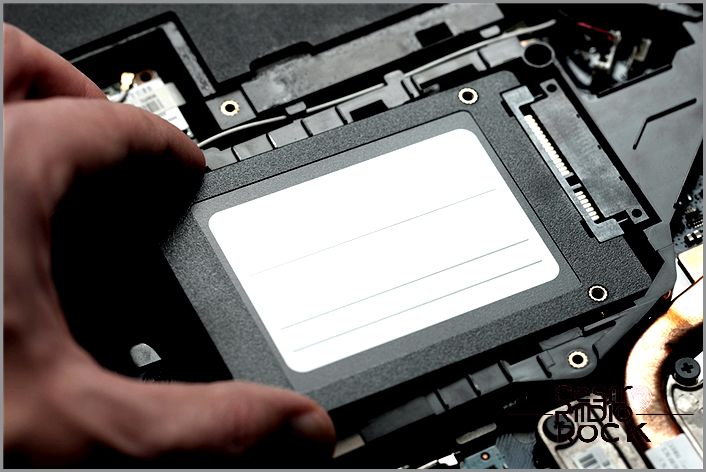
- Locate the drive bays in your computer. Take note of their size. If you have a 2.5″ drive, you’ll need an adapter bracket to secure it in place. If you have a 2.5″ bay, no additional tools are necessary.
- If you want the SSD to be your main drive, remove the cables from the existing drive and remove it. Replace it with the new SSD and reconnect the cables.
- If you want the SSD to be a secondary drive, connect a SATA cable from your motherboard to the SSD. Attach a SATA power cord to the drive as well. Consult your manual if your system or drive have different ports.
- Double-check that the SSD is properly mounted in the socket. If everything looks good, the SSD is now part of your configuration.
Step 3: Wrap Up
Now that the installation is complete, let’s finish up:
- Screw the case cover back on securely.
- Connect the power cable and turn on your computer.
- If you didn’t clone your data, install the operating system and other software manually. If you already migrated your data, you’re good to go!
You’re a DIY Expert!
Now that you’ve successfully installed your SSD, you’re one step closer to becoming a computer configuration pro! Remember to stay safe from static electricity, take care not to damage any hardware, and double-check all your cable connections. That’s all it takes!
If you’ve followed the instructions correctly, you should notice faster booting, smoother performance, and improved overall system functioning. All your effort will be worth it!
Do you take precautions when installing new hardware? Which SSD do you think is the easiest to install? Leave a comment below and share your thoughts with the community.
