Chromebook Guide: Taking Screenshots
If you’re new to using a Chromebook, it’s important to learn the basic functions. Taking screenshots on a Chromebook is actually quite simple. It’s a skill you should acquire, as screenshots serve many purposes.
Let’s get right to it. Here are the top methods for capturing screenshots on your Chromebook.
Fullscreen
If you want to capture the entire screen of your Chromebook, follow these steps:

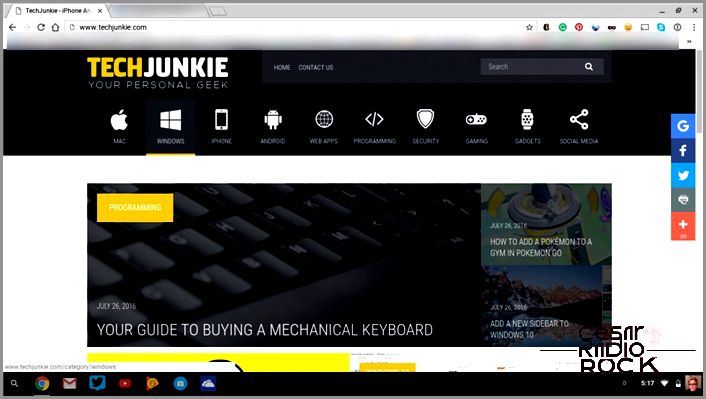
- To take a screenshot on your Chromebook, press the Ctrl key and the switch window button on your keyboard at the same time.
Afterwards, you’ll receive a notification in the bottom right-hand corner of your screen, letting you know that your screenshot has been taken. From there, you have the option to save it to your Chromebook’s clipboard or click the notification to immediately open the location where it’s saved.
If you choose to save it to your clipboard, you can simply press “Ctrl + v” to paste the screenshot whenever you need it. Keep in mind that screenshots are automatically saved to your Chromebook’s “Downloads” folder.
To access your Downloads folder on your Chromebook:
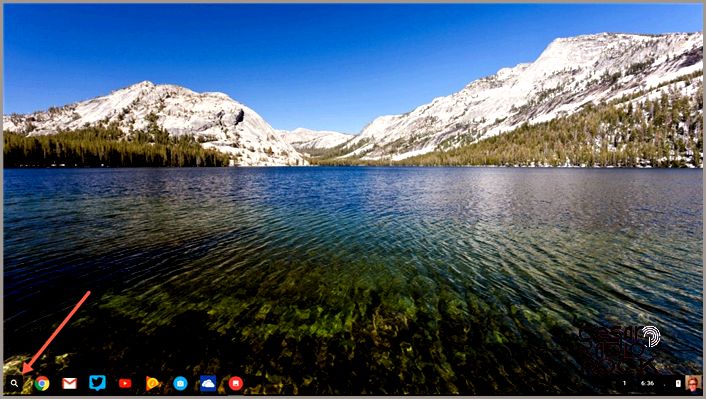
- Click on the Launcher, which is represented by a magnifying glass icon in the lower left-hand corner.

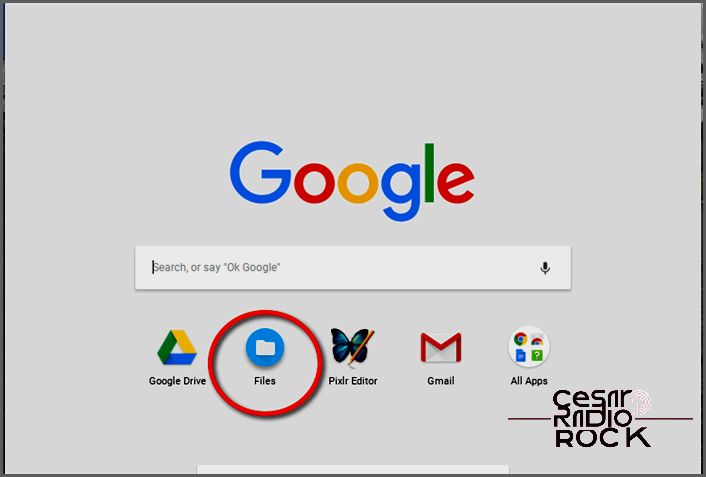
- Once the Google Window opens, click on the Files folder. This will take you to the location where you can find all of your downloaded files.

Partial Screen
If you only need to capture part of your screen, you can take a partial screenshot using the following steps:
- Press Ctrl + Shift + the switch window button on your Chromebook’s keyboard.
- A crosshair symbol will appear on your screen, allowing you to select the specific area that you want to capture.
Once again, you’ll receive the same notification in the bottom right-hand corner of your screen.
Editing Images

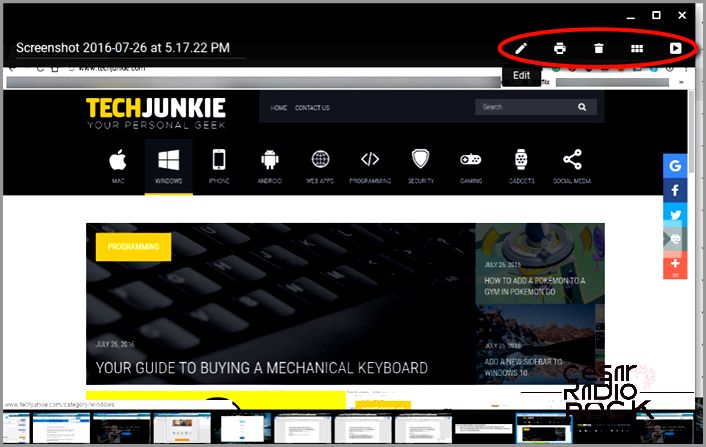
Guess what? Chromebooks come with a cool app for editing images. When you open a screenshot or any other image on your Chromebook, look up in the top-right corner. You’ll see some icons: “Edit,” “Print,” “Trash,” “Thumbnail,” and “Slideshow.” Easy peasy, right?
If you want to do more with your screenshot, just click on the pencil icon. From there, you can choose to “Auto-fix,” “Crop,” adjust the “Brightness,” or “Rotate” the image. Not too many options, but still handy.
But what if you want to blur something or add annotations to your screenshot? Or what if you need even more editing choices? Well, you’re in luck! The Chrome Web Store has apps and extensions that let you download extra tools. Right now, we’re trying out a free app called Pixlr Editor, recommended by other users. They say it’s like a free version of Photoshop 2.0.
If you know of any other awesome photo editing or screenshot tools for Chromebooks, share them with us! We’d love to hear from you.
